
I decided to roller the inside doors of my wardrobe. This seemed to me to be the perfect location to practice, since if it worked, it would look really awesome (lets face it, my wardrobe doors are always left open anyways), and if it didn't work, and I didn't like it, it would be really easy to hid away.

before
Having been given strict instructions not to use the rollers on gloss paint, I began by sanding the satin finish on the doors. My plan had been to take the original white of the doors and print with a subtle grey paint.
However, when the instructions say to paint only on a matt emulsion (Annie Sloans' chalk paints are highly recommended) they really do mean it. Even after sanding, my satin finish doors were too slippy to afford the rubber pattern roller any grip, meaning it just smudged right down the door. Not a good look. I couldn't even bring myself to photograph it.
Plan B: Paint the doors matt, and try again. In an attempt to save monies, I wanted to use a colour we already had. So I went for this greeny-blue that we'd used on the kitchen. Having changed the door colour, I decided to go for a white paint for the rollers, in keeping with the white and blue colour scheme of my room.

Laura Ashley: Cotton White
After the long old process of priming and painting several coats of my chosen colour (fitting painting around my work schedule) I was ready to roll. eek!
As per instructed at The Makery I began by loading my foam roller with paint, which is easier to do on a flat surface than in a paint tray because of the prongs. I then layed the roller off on a blank piece of wall paper. Having attached my rubber roller, I layed it off again (to get rid of any excess paint and ensure an even roll on the door itself). This also gave me a chance to check that my roller was on the right way up- it would be the worst to have done your first roll before you realized your print was upside down!

keep rollin' till you hear the paint getting tacky. You'll know it when you hear it. Promise.

the deeper the line of paint in the roller, the less often you'll have to reload.
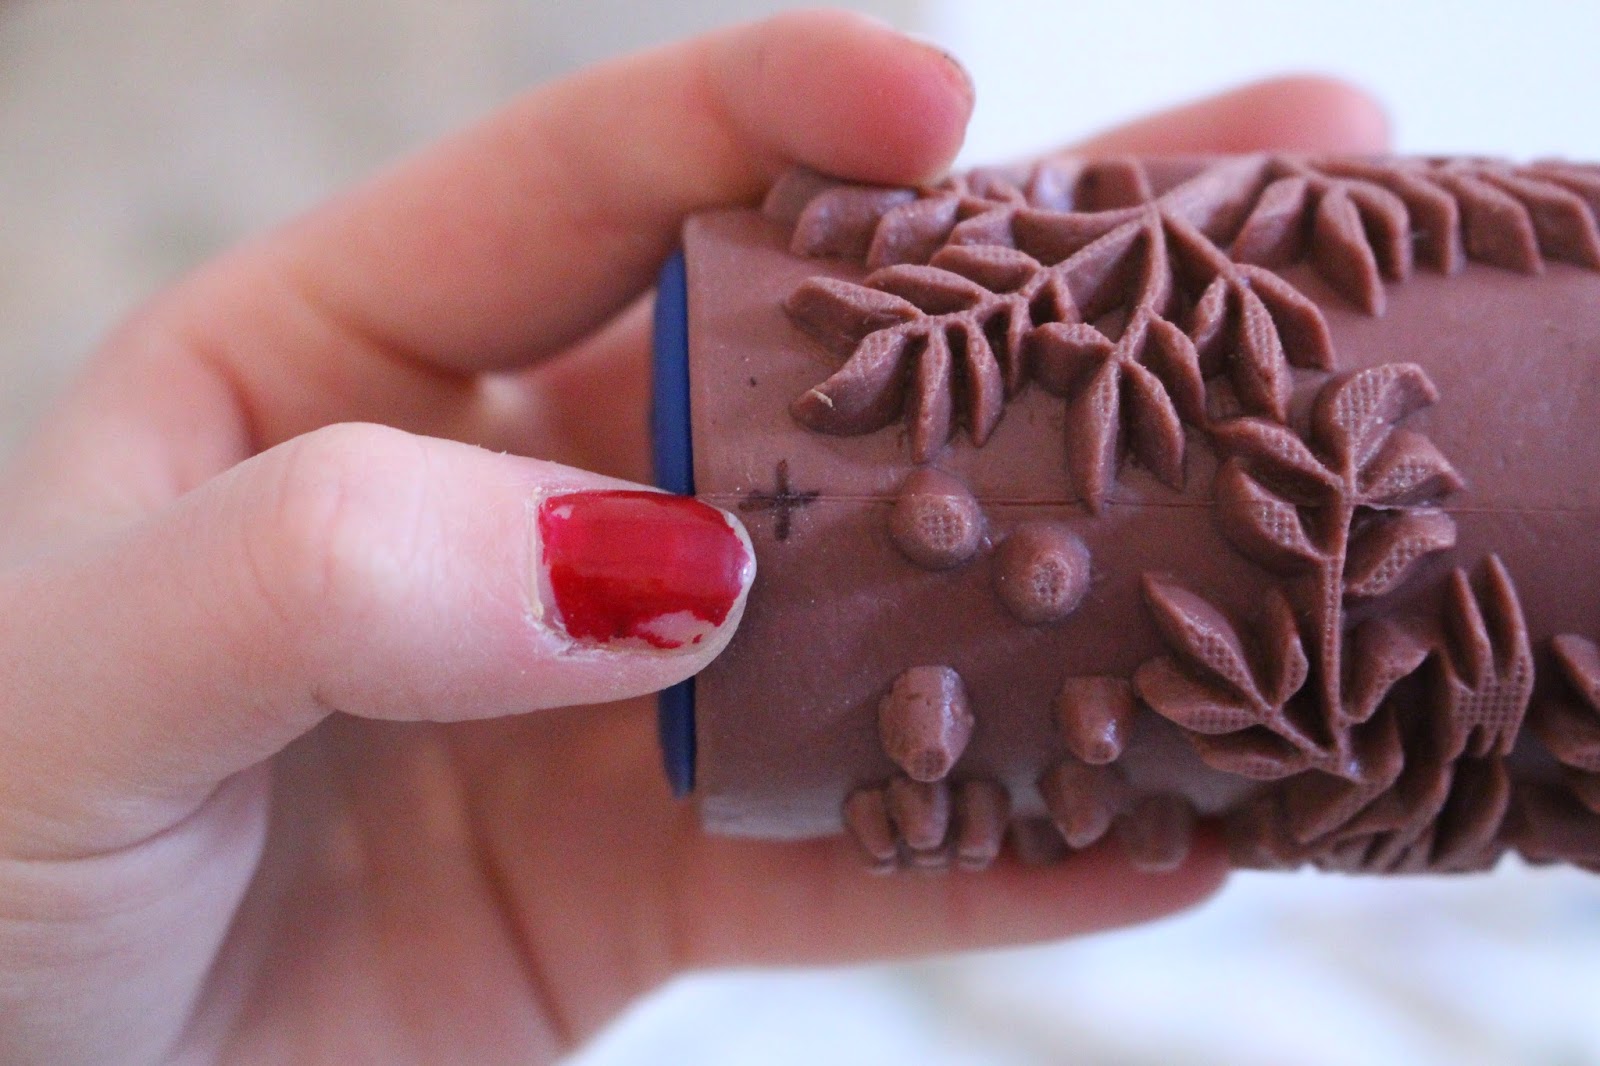
The Makery suggested drawing a + and - on the roller to enable you to line up the pattern right (if you start with a + at the top on the first roll, ensure you have a - at the top on the second roll). Beyond that, the process is pretty self explanatory. After I was done I also decided to add some dots by hand to hide any joins between the strips.
Chipped nails. Bad Jess.

Check out the concentration on that face
I'm pretty happy with the results. It was actually a little harder than expected, and some of my rolls did smudge a bit (possibly because of the length of the door, or perhaps my pressure on the roller was wrong..). But this was a good first attempt, and I think with practice I could work out the kinks. Overall, Im pleased!

Close Up | Paint

Finished! It doesn't look so bad from a distance!
If you wanna learn more about this way of printing, check out The Painted House or book a course at The Makery
Much Love,
Jessie
xxxx
No comments:
Post a Comment